HTML and CSS reference
Tags and CSS you can click to insert, with what each one does.
Print a cheat sheet (the whole course or one unit, with a picture of what each command draws)
Page structure
<h1>Heading</h1>
Example
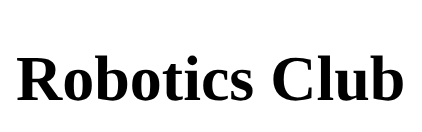
<h1>Robotics Club</h1>
The biggest heading. Use it once for the page title.
id: h1-heading
<h2>Subheading</h2>
Example
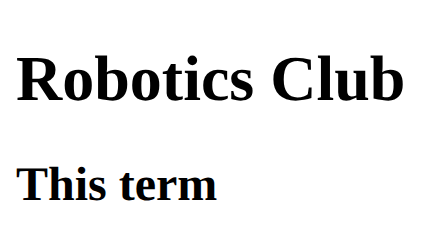
<h1>Robotics Club</h1>
<h2>This term</h2>
A smaller heading for a section.
id: h2-subheading
<p>Some text</p>
Example
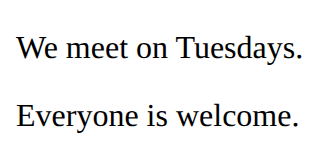
<p>We meet on Tuesdays.</p>
<p>Everyone is welcome.</p>
A paragraph of text.
id: p-paragraph
<div>
  Content
</div>
A container that groups things together, so you can style them as one.
id: div-box
<ul>
  <li>First</li>
  <li>Second</li>
</ul>
Example
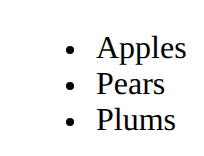
<ul>
  <li>Apples</li>
  <li>Pears</li>
  <li>Plums</li>
</ul>
A bulleted list. Each item is an <li>.
id: ul-list
<ol>
  <li>First</li>
  <li>Second</li>
</ol>
Example
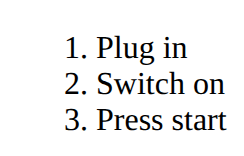
<ol>
  <li>Plug in</li>
  <li>Switch on</li>
  <li>Press start</li>
</ol>
A numbered list.
id: ol-numbered-list
<!-- A note to yourself -->
Example
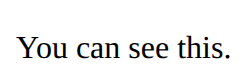
<p>You can see this.</p>
<!-- You cannot see this. -->
A note that the browser ignores.
id: comment
Content
<a href="https://example.com">Link text</a>
Example
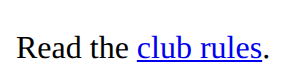
<p>Read the <a href="https://example.com">club rules</a>.</p>
A link. The address goes in href; the words between the tags are what people click.
id: a-link
<img src="trophy.svg" alt="A gold trophy">
Example
<img src="medal.svg" alt="A silver medal" width="100">
<p>Second place</p>
A picture. src is the picture file; alt describes it for people who cannot see it. There is no closing tag.

id: img-image
<strong>important</strong>
Example
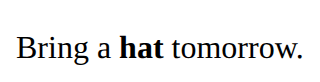
<p>Bring a <strong>hat</strong> tomorrow.</p>
Make text stand out as important (usually bold).
id: strong-bold
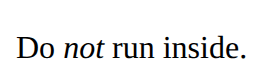
<em>emphasis</em>
Example
<p>Do <em>not</em> run inside.</p>
Emphasise text (usually italic).
id: em-emphasis
<button>Click me</button>
Example
<button>Start</button>
A button.
id: button
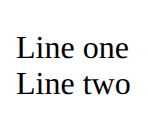
<br>
Example
<p>Line one<br>Line two</p>
Start a new line.
id: br-line-break
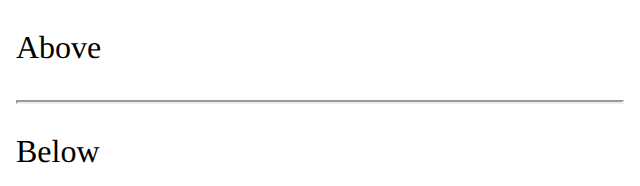
<hr>
Example
<p>Above</p>
<hr>
<p>Below</p>
Draw a line across the page.
id: hr-line
Table
<table>
  <tr>
    <th>Name</th>
    <th>Score</th>
  </tr>
  <tr>
    <td>Sam</td>
    <td>10</td>
  </tr>
</table>
Example
<table>
  <tr>
    <th>Team</th>
    <th>Points</th>
  </tr>
  <tr>
    <td>Owls</td>
    <td>12</td>
  </tr>
  <tr>
    <td>Hawks</td>
    <td>9</td>
  </tr>
</table>
A table: <tr> is a row, <th> a heading cell, <td> a normal cell.

id: table
Page sections
<header>
  <h1>Site name</h1>
</header>
Example
<header>
  <h1>Chess club</h1>
</header>
<p>Page content</p>
The top part of a page: usually the title and the menu. Looks like a div; the name tells browsers and screen readers what it is.

id: header
<nav>
  <a href="#">Home</a>
</nav>
Example
<nav>
  <a href="#">Home</a>
  <a href="#">Games</a>
</nav>
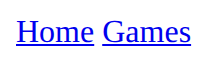
The main menu of links.
id: nav
<main>
  The page's main content
</main>
Example
<main>
  <h2>This week</h2>
  <p>Practice on Wednesday.</p>
</main>
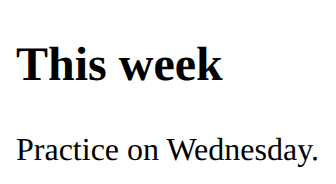
The main content of the page. One per page.
id: main
<section>
  <h2>Part</h2>
</section>
Example
<section>
  <h2>Results</h2>
  <p>We won 3 games.</p>
</section>
One part of the page, usually with its own heading.

id: section
<footer>
  Contact and small print
</footer>
Example
<p>Page content</p>
<footer>
  <p>Contact: chess@example.com</p>
</footer>
The bottom part of a page: contact details, small print.
id: footer
<header>
  <h1>Site name</h1>
  <nav>
    <ul>
      <li><a href="https://example.com">Home</a></li>
    </ul>
  </nav>
</header>
<main>
  <section>
    <h2>Section title</h2>
    <p>Some text.</p>
  </section>
</main>
<footer>
  <p>Contact us</p>
</footer>
Example
<header>
  <h1>Chess club</h1>
  <nav>
    <ul>
      <li><a href="https://example.com">Home</a></li>
      <li><a href="https://example.com/rules">Rules</a></li>
    </ul>
  </nav>
</header>
<main>
  <section>
    <h2>When we meet</h2>
    <p>Wednesdays at lunch.</p>
  </section>
</main>
<footer>
  <p>Contact the teacher in charge.</p>
</footer>
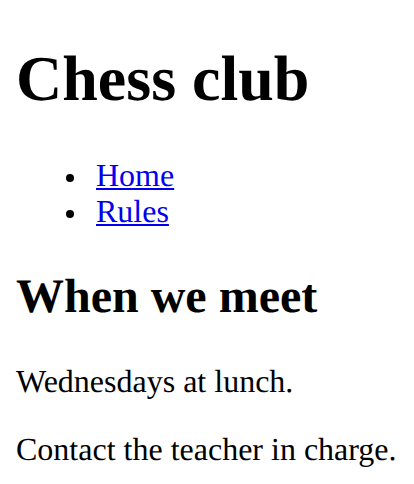
The parts of a page, named: header, nav, main with its sections, and footer. They look like plain blocks; the names are for screen readers and search engines.
id: page-parts
<a href="#results">Link text</a>

<h2 id="results">Section title</h2>
Example
<nav>
  <ul>
    <li><a href="#results">Results</a></li>
    <li><a href="#join">Join</a></li>
  </ul>
</nav>
<h2 id="results">Results</h2>
<p>The Owls won.</p>
<h2 id="join">Join</h2>
<p>Come on Wednesday.</p>
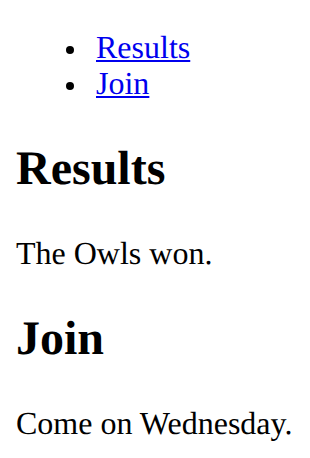
A link to a place on the same page. id names the place; href starts with # and the same name.
id: jump-link
Forms
<form>
  fields
  <button>Send</button>
</form>
Example
<form>
  <label for="town">Town</label>
  <input id="town" type="text">
  <button>Go</button>
</form>
Holds the fields and the button that sends them. On its own, a form sends nowhere: code behind it does the work.

id: form
<label for="name">Name</label>
<input id="name" type="text">
Example
<label for="age">Age</label>
<input id="age" type="number">
An input is a box to type in. Its label says what to type; for and id must match, so clicking the label puts the cursor in the box.

id: label-and-input
<select id="house">
  <option>Owls</option>
  <option>Hawks</option>
</select>
Example
<label for="size">Size</label>
<select id="size">
  <option>Small</option>
  <option>Large</option>
</select>
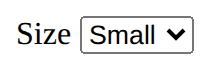
A drop-down list: one option to choose.
id: select-drop-down
CSS
<style>
  h1 {
    color: red;
  }
</style>
Example
<style>
  h2 {
    color: purple;
  }
</style>
<h2>Purple heading</h2>
<p>Normal text</p>
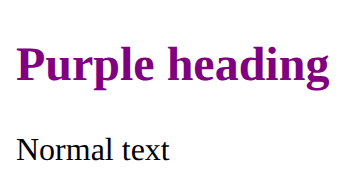
Where CSS lives. Each rule is: selector { property: value; }
id: style-block
p {
  color: blue;
}
Example
<style>
  li {
    color: teal;
  }
</style>
<ul>
  <li>One</li>
  <li>Two</li>
</ul>
Style every element matching the selector.

id: rule
.note {
  color: red;
}
Example
<style>
  .tip {
    font-style: italic;
  }
</style>
<p>A normal paragraph.</p>
<p class="tip">A paragraph with class="tip".</p>
Style only the elements you mark with class="note" in the HTML. The dot is only in the CSS.

id: class-selector
h1, h2 {
  color: navy;
}
Example
<style>
  h1, li {
    color: purple;
  }
</style>
<h1>Title</h1>
<ul>
  <li>An item</li>
</ul>
<p>A paragraph</p>
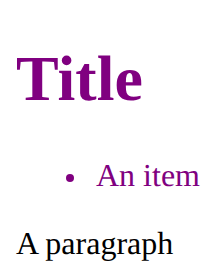
One rule for several kinds of element: list the selectors with commas.
id: several-selectors
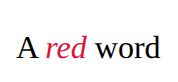
color: red;
Example
<style>
  em {
    color: crimson;
  }
</style>
<p>A <em>red</em> word</p>
The text colour.
id: color
background-color: lightyellow;
Example
<style>
  h2 {
    background-color: lightyellow;
  }
</style>
<h2>Notice</h2>
The background colour.

id: background-color
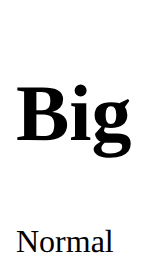
font-size: 20px;
Example
<style>
  h2 {
    font-size: 40px;
  }
</style>
<h2>Big</h2>
<p>Normal</p>
How big the text is.
id: font-size
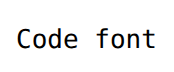
font-family: sans-serif;
Example
<style>
  p {
    font-family: monospace;
  }
</style>
<p>Code font</p>
Which font to use.
id: font-family
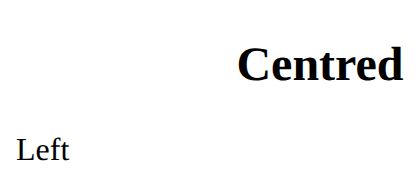
text-align: center;
Example
<style>
  h2 {
    text-align: center;
  }
</style>
<h2>Centred</h2>
<p>Left</p>
Align text: left, center or right.
id: text-align
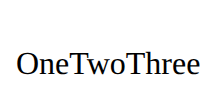
display: flex;
Example
<style>
  .row {
    display: flex;
  }
</style>
<div class="row">
  <p>One</p>
  <p>Two</p>
  <p>Three</p>
</div>
Put it on the box that holds the items (the parent): its children line up in a row.
id: display-flex
gap: 16px;
Example
<style>
  .row {
    display: flex;
    gap: 40px;
  }
</style>
<div class="row">
  <p>One</p>
  <p>Two</p>
  <p>Three</p>
</div>
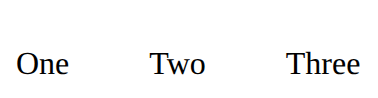
Space between the items in a flex row (on the parent, with display: flex).
id: gap
flex-wrap: wrap;
Example
<style>
  .row {
    display: flex;
    flex-wrap: wrap;
    gap: 8px;
    width: 180px;
  }
</style>
<div class="row">
  <img src="star.svg" alt="Star" width="50">
  <img src="star.svg" alt="Star" width="50">
  <img src="star.svg" alt="Star" width="50">
  <img src="star.svg" alt="Star" width="50">
</div>
Let items move to the next line when the row is full.

id: flex-wrap
justify-content: center;
Example
<style>
  .row {
    display: flex;
    justify-content: space-between;
    width: 220px;
    border: 1px solid gray;
  }
</style>
<div class="row">
  <p>Left</p>
  <p>Right</p>
</div>
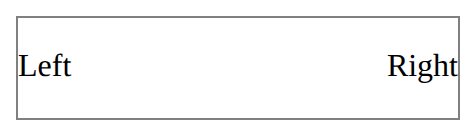
Where the items sit along the row: flex-start, center, flex-end or space-between.
id: justify-content
list-style: none;
Example
<style>
  ol {
    list-style: none;
  }
</style>
<ol>
  <li>First</li>
  <li>Second</li>
</ol>
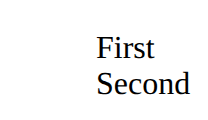
Remove the bullets or numbers from a list: menus are lists without bullets.
id: list-style
display: grid;
Example
<style>
  .grid {
    display: grid;
    grid-template-columns: 1fr 1fr;
    gap: 8px;
  }
  p {
    background-color: lavender;
  }
</style>
<div class="grid">
  <p>A</p>
  <p>B</p>
  <p>C</p>
  <p>D</p>
</div>
Put it on the box that holds the items: its children are placed in rows and columns (with grid-template-columns).

id: display-grid
grid-template-columns: 200px 1fr;
Example
<style>
  .grid {
    display: grid;
    grid-template-columns: 80px 1fr;
    gap: 8px;
  }
  .cell {
    background-color: lightblue;
  }
</style>
<div class="grid">
  <div class="cell">80px</div>
  <div class="cell">The rest</div>
</div>
The width of each column, in order. 1fr means one share of the space left; repeat(3, 1fr) makes three equal columns.

id: grid-template-columns
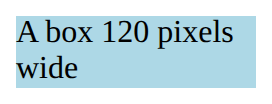
width: 200px;
Example
<style>
  div {
    width: 120px;
    background-color: lightblue;
  }
</style>
<div>A box 120 pixels wide</div>
How wide the content is. Padding and border are added on top of it.
id: width
padding: 10px;
Example
<style>
  p {
    background-color: lightblue;
    padding: 20px;
  }
</style>
<p>Room inside</p>
Space inside an element, between its edge and its content.

id: padding
margin: 10px;
Example
<style>
  p {
    border: 1px solid gray;
    margin: 20px;
  }
</style>
<p>One</p>
<p>Two</p>
Space outside an element, between it and its neighbours.

id: margin
border: 2px solid black;
Example
<style>
  p {
    border: 2px solid black;
  }
</style>
<p>Boxed</p>
A line around an element: thickness, style, colour.

id: border
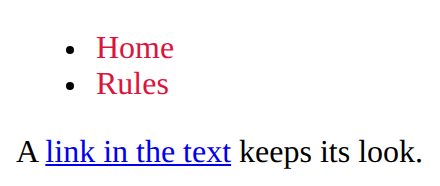
nav a {
  color: white;
  text-decoration: none;
}
Example
<style>
  nav a {
    color: crimson;
    text-decoration: none;
  }
</style>
<nav>
  <ul>
    <li><a href="https://example.com">Home</a></li>
    <li><a href="https://example.com/rules">Rules</a></li>
  </ul>
</nav>
<p>A <a href="https://example.com">link in the text</a> keeps its look.</p>
Style only the links inside the nav. The space means inside: nav a is every a within a nav.
id: menu-links
.card {
  width: 200px;
  padding: 16px;
  border: 2px solid navy;
  margin: 12px;
}
Example
<style>
  .card {
    width: 200px;
    padding: 16px;
    border: 2px solid navy;
    margin: 12px;
  }
</style>
<section class="card">
  <h2>Chess</h2>
  <p>Wednesdays at lunch.</p>
</section>
A box with room inside (padding), a line around it (border) and space outside it (margin). Width sets the content only.

id: card-box
.row {
  display: flex;
  gap: 16px;
  justify-content: space-between;
  align-items: center;
}
Example
<style>
  .bar {
    display: flex;
    gap: 16px;
    justify-content: space-between;
    align-items: center;
  }
</style>
<section class="bar">
  <h2>Chess club</h2>
  <p>Join us</p>
</section>
A row of items. gap is the space between them, justify-content places them along the row, align-items lines them up across it.

id: flex-row
.gallery {
  display: flex;
  flex-wrap: wrap;
  gap: 12px;
}
.item {
  flex: 1;
  min-width: 150px;
}
Example
<style>
  .gallery {
    display: flex;
    flex-wrap: wrap;
    gap: 12px;
  }
  .item {
    flex: 1;
    min-width: 150px;
    background-color: lightyellow;
  }
</style>
<section class="gallery">
  <p class="item">One</p>
  <p class="item">Two</p>
  <p class="item">Three</p>
  <p class="item">Four</p>
</section>
A row that moves items to a new line when there is no room. flex: 1 lets items share the space and min-width stops them getting too narrow.

id: wrapping-row
<style>
  .card {
    padding: 16px;
    border: 1px solid gray;
  }
</style>
<section class="card">
  <h2>Title</h2>
  <p>Some text.</p>
</section>
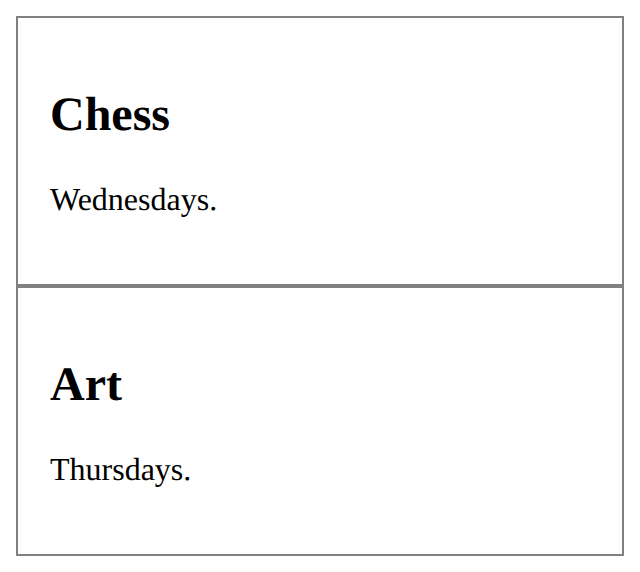
Example
<style>
  .card {
    padding: 16px;
    border: 1px solid gray;
  }
</style>
<section class="card">
  <h2>Chess</h2>
  <p>Wednesdays.</p>
</section>
<section class="card">
  <h2>Art</h2>
  <p>Thursdays.</p>
</section>
A chunk of HTML with a class. Copy the section for each card; one rule styles every copy.
id: card-component
JavaScript (recipes)
document.querySelector('#go').addEventListener('click', function () {
  what to do
});
When the element with id="go" is clicked, run the lines inside. # means id, as . means class.
id: on-click
document.querySelector('#message').textContent = 'Go!';
Replace the words inside the element with id="message".
id: change-the-text
const name = document.querySelector('#name').value;
Read what someone typed into the box with id="name".
id: read-a-box
Bootstrap
<link rel="stylesheet" href="bootstrap.min.css">
Loads Bootstrap's stylesheet: a big CSS file someone else wrote. Put it first, above your own <style>. On your own site, download it from getbootstrap.com and put it beside your page.
id: bootstrap-link
<div class="container">
  content
</div>
A centred column with space at the sides. Most Bootstrap pages put everything inside one.
id: container
<button class="btn btn-primary">Join</button>
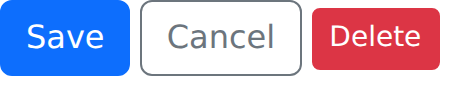
Example
<link rel="stylesheet" href="bootstrap.min.css">

<button class="btn btn-primary">Save</button>
<button class="btn btn-outline-secondary">Cancel</button>
<button class="btn btn-danger btn-sm">Delete</button>
btn gives the button shape; a second class picks the colour: btn-primary, btn-secondary, btn-success, btn-danger, btn-warning, or btn-outline-primary for an outline. Add btn-lg or btn-sm for the size. It needs both btn and a colour.
id: btn-button
<div class="alert alert-warning">Message</div>
Example
<link rel="stylesheet" href="bootstrap.min.css">

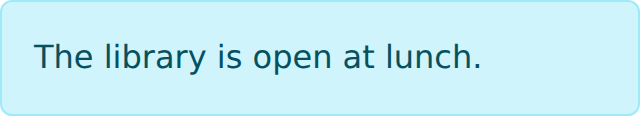
<div class="alert alert-info">The library is open at lunch.</div>
A coloured message box. alert gives the box; alert-primary, alert-success, alert-danger, alert-warning or alert-info picks the colour.
id: alert
<p class="mt-3 p-2 text-center">Text</p>
Example
<link rel="stylesheet" href="bootstrap.min.css">

<p class="lead text-center">Welcome!</p>
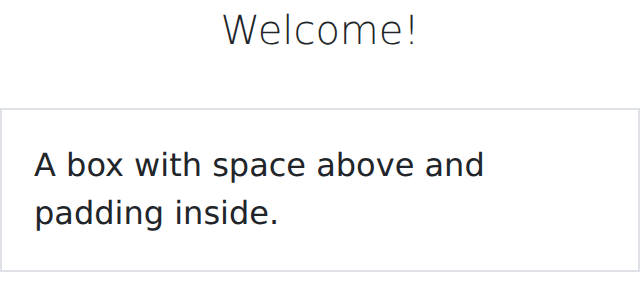
<p class="mt-4 p-3 border">A box with space above and padding inside.</p>
m is margin and p is padding; then t, b, s, e (top, bottom, start, end), x (both sides) or y (top and bottom), then a size from 0 to 5: mt-3 is a space above. text-center centres text; lead makes a larger opening paragraph; fw-bold makes it bold.
id: spacing-and-text-classes
<nav class="navbar navbar-expand bg-body-tertiary">
  <div class="container">
    <a class="navbar-brand" href="#">Club name</a>
    <ul class="navbar-nav">
      <li class="nav-item"><a class="nav-link" href="#part">Link</a></li>
    </ul>
  </div>
</nav>
Example
<link rel="stylesheet" href="bootstrap.min.css">

<nav class="navbar navbar-expand bg-body-tertiary">
  <div class="container">
    <a class="navbar-brand" href="#">Library</a>
    <ul class="navbar-nav">
      <li class="nav-item"><a class="nav-link" href="#">Books</a></li>
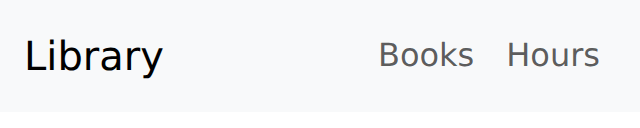
      <li class="nav-item"><a class="nav-link" href="#">Hours</a></li>
    </ul>
  </div>
</nav>
The bar across the top: the brand (your name) on the left, then the menu. navbar-expand keeps the menu in a row (folding it into a button on phones needs Bootstrap's JavaScript).
id: navbar
<div class="card">
  <div class="card-body">
    <h5 class="card-title">Title</h5>
    <p class="card-text">Text</p>
  </div>
</div>
Example
<link rel="stylesheet" href="bootstrap.min.css">

<div class="card m-2">
  <div class="card-body">
    <h5 class="card-title">Robotics</h5>
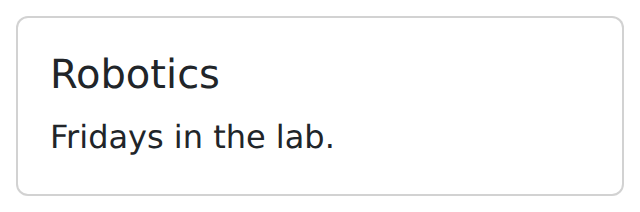
    <p class="card-text">Fridays in the lab.</p>
  </div>
</div>
A box with a border and rounded corners. The card-body inside gives it padding; card-title and card-text style what is in it.
id: card
<div class="row">
  <div class="col">first</div>
  <div class="col">second</div>
</div>
Example
<link rel="stylesheet" href="bootstrap.min.css">

<div class="container">
  <div class="row">
    <div class="col border">One</div>
    <div class="col border">Two</div>
    <div class="col border">Three</div>
  </div>
</div>
Bootstrap's grid: a row lines up the cols inside it, and each col takes an equal share. col-4 and col-8 split the row 4 to 8 (a row is 12 parts). Put a row inside a container.

id: row-and-col
<label for="email" class="form-label">Email</label>
<input id="email" type="email" class="form-control">
Example
<link rel="stylesheet" href="bootstrap.min.css">

<div class="m-2">
  <label for="town" class="form-label">Town</label>
  <input id="town" type="text" class="form-control">
</div>
Bootstrap's look for a form: form-label on each label, form-control on each box, form-select on a drop-down. The for and id still link them.

id: form-control
<table class="table table-striped">
  rows
</table>
Bootstrap's look for a table: lines between rows and padding in the cells. table-striped shades every other row; table-bordered adds borders.
id: table-class
Other CSS frameworks
<link rel="stylesheet" href="bulma.min.css">
<button class="button is-primary">Join</button>
Example
<link rel="stylesheet" href="bulma.min.css">

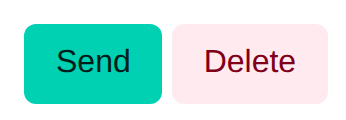
<div class="p-3">
  <button class="button is-primary">Send</button>
  <button class="button is-danger is-light">Delete</button>
</div>
Bulma works like Bootstrap with different names: button for the shape, is-primary, is-success or is-danger for the colour, is-large for the size.
id: bulma-button
<script src="tailwind.js"></script>
<button class="bg-blue-600 text-white px-4 py-2 rounded-lg">Join</button>
Example
<script src="tailwind.js"></script>

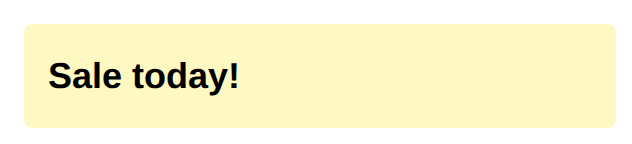
<p class="m-3 p-3 bg-yellow-100 text-lg font-bold rounded">Sale today!</p>
Tailwind has one class per CSS property: bg-blue-600 is the background, text-white the text colour, px-4 and py-2 the padding, rounded-lg the corners. Here tailwind.js writes the CSS as the page loads (for trying things); real sites use a build tool.
id: tailwind-utility-classes
<link rel="stylesheet" href="daisyui.css">
<script src="tailwind.js"></script>
<button class="btn btn-primary">Join</button>
Example
<link rel="stylesheet" href="daisyui.css">
<script src="tailwind.js"></script>

<div class="p-3">
  <button class="btn btn-secondary">Play</button>
</div>
daisyUI puts Bootstrap-style names (btn, card, alert) on top of Tailwind, so you can mix whole parts with Tailwind's one-property classes.
id: daisyui-button
<link rel="stylesheet" href="pico.classless.min.css">
<main>
  plain tags
</main>
Example
<link rel="stylesheet" href="pico.classless.min.css">

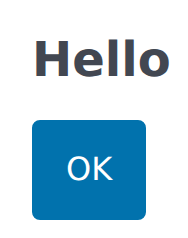
<main>
  <h3>Hello</h3>
  <button>OK</button>
</main>
Pico's classless version styles plain tags: a page with headings, paragraphs, forms and buttons looks tidy with no class names at all. Put the page in a <main>.
id: pico-no-classes
Vue
<div id="app">
  the page
</div>

<script src="vue.js"></script>
<script>
  const { createApp, ref, computed } = Vue;
  createApp({
    setup() {
      data and functions
      return { names };
    }
  }).mount("#app");
</script>
Example
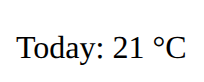
<div id="app">
  <p>Today: {{ temp }} °C</p>
</div>

<script src="vue.js"></script>
<script>
  const { createApp, ref } = Vue;
  createApp({
    setup() {
      const temp = ref(21);
      return { temp };
    }
  }).mount("#app");
</script>
Vue looks after everything inside the div with id app. setup makes the data and functions, and returns the names the page can use. vue.js sits beside the page.
id: vue-app
const score = ref(0);
Data that Vue watches: when it changes, the page follows. Return it from setup. In the script its value is score.value; on the page, just score.
id: ref-data
{{ score }}
Shows a value from setup on the page, and keeps it up to date. Any short expression works: {{ score * 2 }}.
id: show-data
<button @click="addPoint">Add</button>
Runs a function from setup when the button is clicked. A short change works too: @click="score++".
id: click-event
<li v-for="name in players">{{ name }}</li>
Example
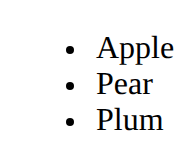
<ul id="app">
  <li v-for="fruit in fruits">{{ fruit }}</li>
</ul>

<script src="vue.js"></script>
<script>
  const { createApp, ref } = Vue;
  createApp({
    setup() {
      const fruits = ref(["Apple", "Pear", "Plum"]);
      return { fruits };
    }
  }).mount("#app");
</script>
Makes this tag once for each item in the list. Put it on the tag you want more of (the li, not the ul).
id: v-for
<p v-if="players.length === 0">No players yet.</p>
Shows the tag only while the condition is true. v-else on the next tag shows when it is false.
id: v-if
<input v-model="newName">
Joins a box to a ref, both ways: typing changes the data, and changing the data changes the box. On a tick box it is true or false.
id: v-model
function addPoint() {
  score.value++;
}
A function the page can run (return it from setup). In the script, a ref's value is in .value.
id: function-in-setup
const total = computed(() => adults.value * 12);
A value worked out from other data. Vue works it out again whenever that data changes, so it never goes stale. Never set it yourself.
id: computed
app.component("player-card", {
  props: ["name"],
  template: `<p>{{ name }}</p>`
});
A tag of your own, made once and used many times: <player-card :name="p.name"></player-card>. The colon passes a value. Make the app with const app = createApp(...), add components, then app.mount("#app").
id: component-and-props
Frameworks
<div id="app"></div>
<script src="preact.js"></script>
<script>
  const { html, render, useState } = htmPreact;
  function App() {
    state and functions
    return html`the page`;
  }
  render(html`<${App} />`, document.querySelector("#app"));
</script>
Preact works like React. A component is a function that returns its page, written in html`…` (htm). Preact runs the function again after every change.
id: preact-app
const [stars, setStars] = useState([]);
Preact and React state: the value, and a function to change it. Always give it a new value: setStars([...stars, item]), never stars.push.
id: usestate
<textarea data-svelte hidden>
  <script>
    state and functions
  </script>
  the page
</textarea>
<script src="svelte.js"></script>
Example
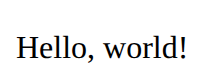
<textarea data-svelte hidden>
  <script>
    let name = $state("world");
  </script>
  <p>Hello, {name}!</p>
</textarea>
<script src="svelte.js"></script>
Here a Svelte component sits in a hidden textarea and svelte.js compiles it in the page. In a real project it is its own file, App.svelte.
id: svelte-component
let count = $state(0);
let double = $derived(count * 2);
Svelte's data that changes, and a value worked out from it. Change $state data directly (count++, list.push). Show it with {count}; choose with {#if …} … {/if}.
id: state-and-derived
Fetch and JSON
const response = await fetch("weather.json");
const data = await response.json();
Example
<p id="out">Loading…</p>
<script>
  async function load() {
    const response = await fetch("weather.json");
    const data = await response.json();
    document.querySelector("#out").textContent = "Days: " + data.daily.time.length;
  }
  load();
</script>
Asks for a file or web address, waits for the reply, then turns it into data (objects and arrays). Both lines need await, inside an async function.

id: fetch-json
async function load() {
  … await …
}
load();
A function that may wait for slow things with await. Call it like any function; the rest of the page keeps going while it waits.
id: async-function
try {
  what might fail
} catch (error) {
  plan B
}
Runs the lines in try; if one fails (no network, a blocked site), jumps to catch instead of stopping with an error.
id: try-and-catch
A page for everyone, online
<img src="trophy.svg" alt="A gold trophy">
Says what a picture shows, for anyone who can't see it (screen readers read it aloud). Use alt="" for a picture that is only decoration.
id: alt-text
<h1>Page title</h1>
<h2>A part of the page</h2>
<h3>A part of that part</h3>
Headings are the page's outline: one h1, then h2 for each part, h3 inside those. Never pick a level for its size; set the size with CSS.
id: heading-outline
<!DOCTYPE html>
<html lang="en">
<head>
  <meta charset="utf-8">
  <meta name="viewport" content="width=device-width, initial-scale=1">
  <title>My page</title>
</head>
<body>
  the page
</body>
</html>
What a page file needs around its content: the language, the text encoding, a phone-friendly width and a title for the tab. The Download button adds it for you.
id: whole-page
<img src="trophy.svg" alt="…">
<link rel="stylesheet" href="style.css">
A file name with no folder means "beside this page"; images/trophy.svg means "in the images folder beside this page". Never a path from your own computer (C:/Users/…).
id: relative-path